Table of contents
What is Consent Mode v2?
What is Consent Mode v2?
Consent Mode v2 is an updated version of Google Consent Mode. It introduces new features and improvements to better align with European privacy regulations. In both cases, the mechanism allows websites to adjust the behavior of Google tags.
If you haven’t yet implemented Consent Mode v2, it’s high time you changed that. If your site does not implement consent mode, it may stop displaying ads in ad systems and sending user data to analytics tools! Fortunately, implementing consent mode is just a few simple steps, which I will describe and show in screenshots so you can handle the whole process yourself.
Consent mode – how do we deploy through GTM?
To implement Consent Mode v2 on your site, you will need Google Tag Manager implemented. GTM, in short, is a tool with which you can conveniently add various types of tags to your site. These include, for example, analytics tags, such as GA4, or conversion tracking tags, such as Google Ads. If you don’t have GTM implemented on your site, check out our article titled „How to launch GTM and start using it?”
Note: This tutorial will only work if the tracking codes on your site are implemented by GTM! So, if you want to implement Consent Mode v2 with the help of this tutorial, implement the tracking codes (e.g. GA4, FB Pixel) just through GTM. If you feel that this is not a task for you, you can use the services of Digital Agency The agency will take care of the comprehensive implementation of both analytical tools and consent mode.
Consent Mode v2 – guide
Ready? Then, it’s time to move on to implementing Consent mode v2! You can do it with the help of one of Google’s partners who participate in the CMP Partner Program. You can choose one of the more than a dozen partners Google recommends. The implementation looks similar for each of them, and I will describe step-by-step instructions on how to do it with Cookie Script. The free plan will allow you to hook up Consent Mode v2 to up to two domains with monthly traffic of no more than 20,000 users. If you need to implement Consent Mode on more sites, or your site records more than 20,000 visitors per month, use the paid package for 8 or 15 euros.
Do you care about attracting new customers effectively and quickly?
Contact us, and we will present the right advertising opportunities for your business. We are happy to establish a long-term cooperation!
Cookie Script – banner configuration
When you get to the site, in the upper right corner, click „Try now” and complete the registration process. It takes a few seconds and is trivial so that I won’t describe it. After logging in to the site, you will be shown the following window:
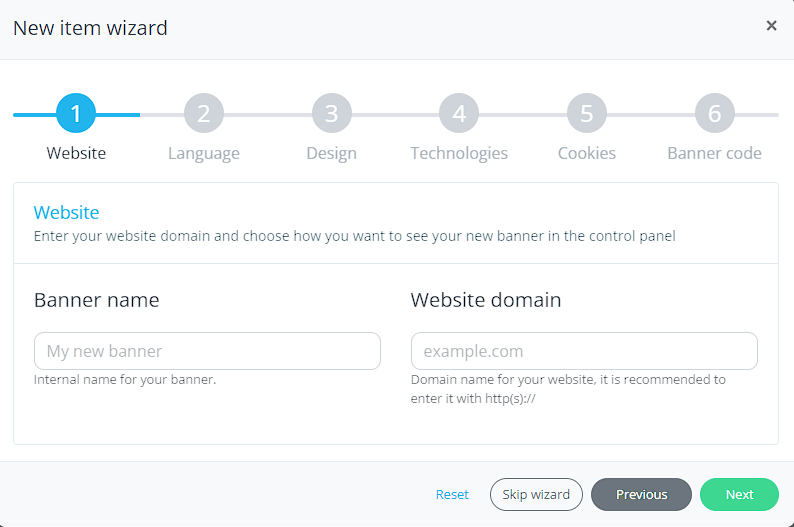
This is the panel where you will configure the Consent Mode v2 settings and the banner displayed on the site to inform users about the consent mode used.
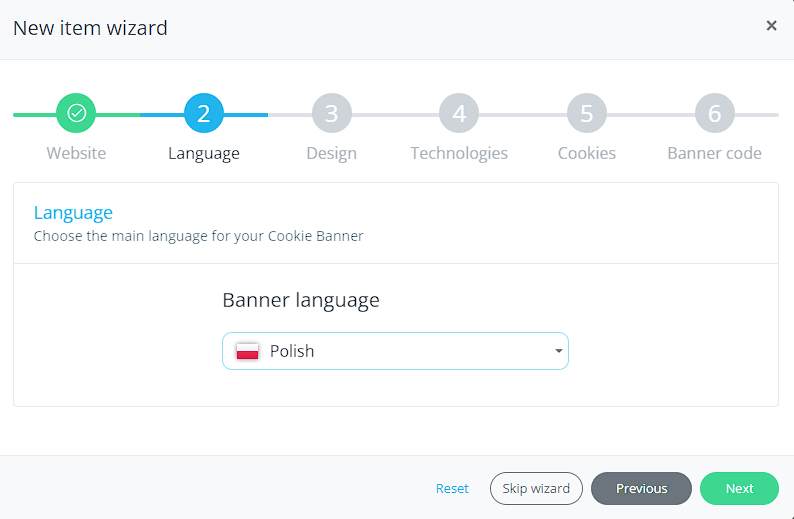
In the „banner name” field, enter the banner’s name, such as „Consent mode v2,” and in the „website domain” field, paste the URL of the website where you want to implement consent mode. Click next. In the next window, select the language of the banner that will appear on the site.
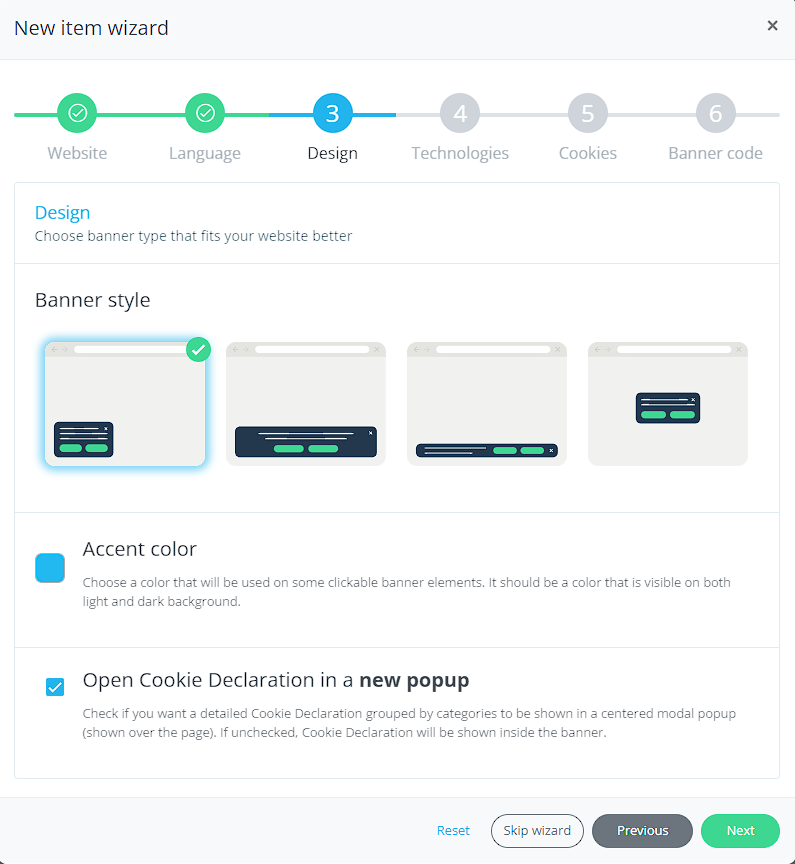
The next item is to choose a banner style. You can choose from several sizes and placements.
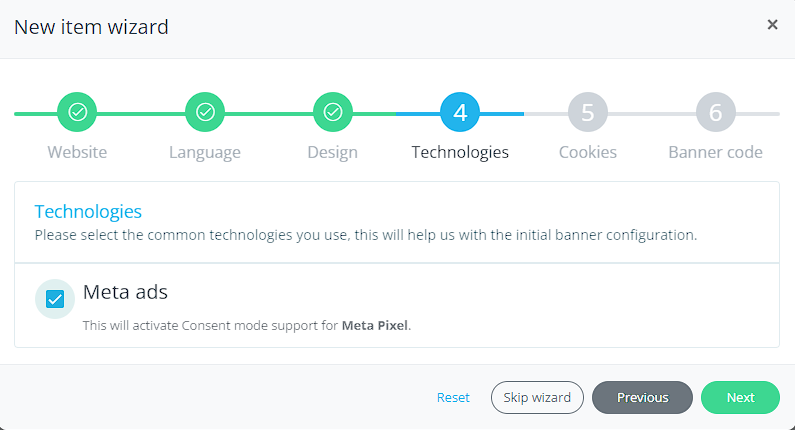
Subsequently, accept META Ads technology if you are running, or intend to run Facebook activities in the future.
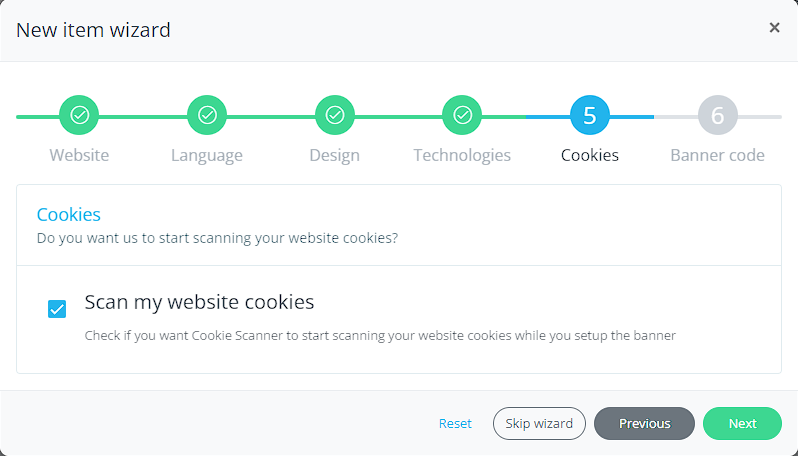
You’re doing great so far! It’s time to approve a scanner to help implement Consent Mode v2.
In the last step, you will see the following window:
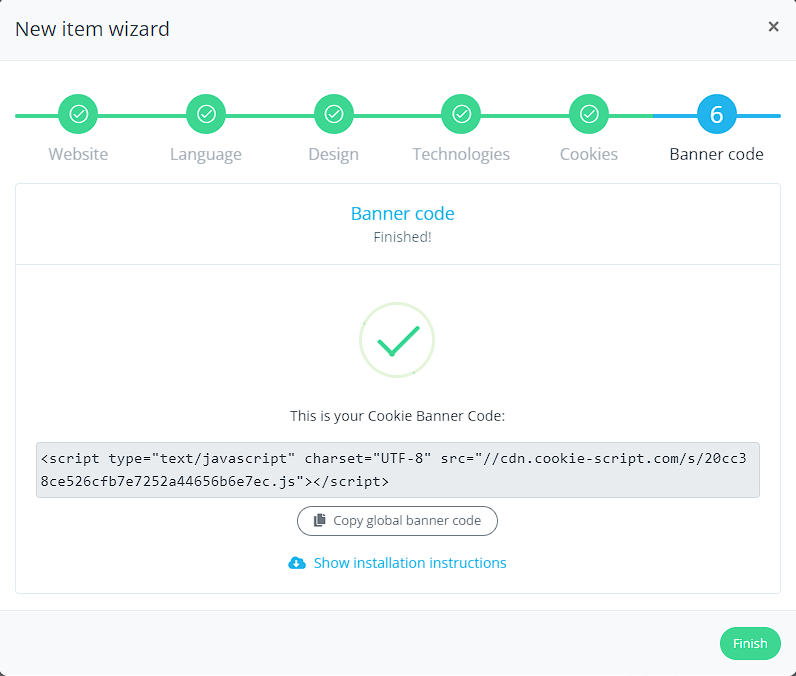
In this view, click „Show installation instructions”. Then in the „cookie banner code” field, select „Google Tag Manager”. The following view will appear:
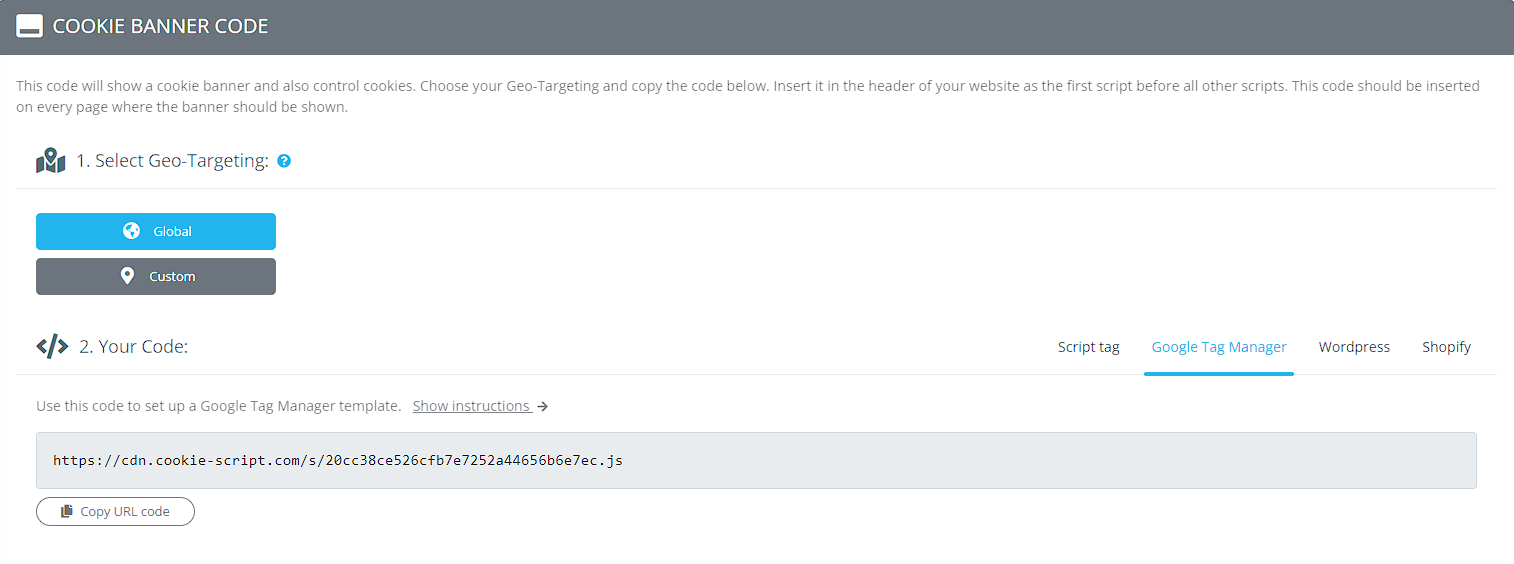
Copy the link displayed in the grey bar and save it in Notepad. You will need it later.
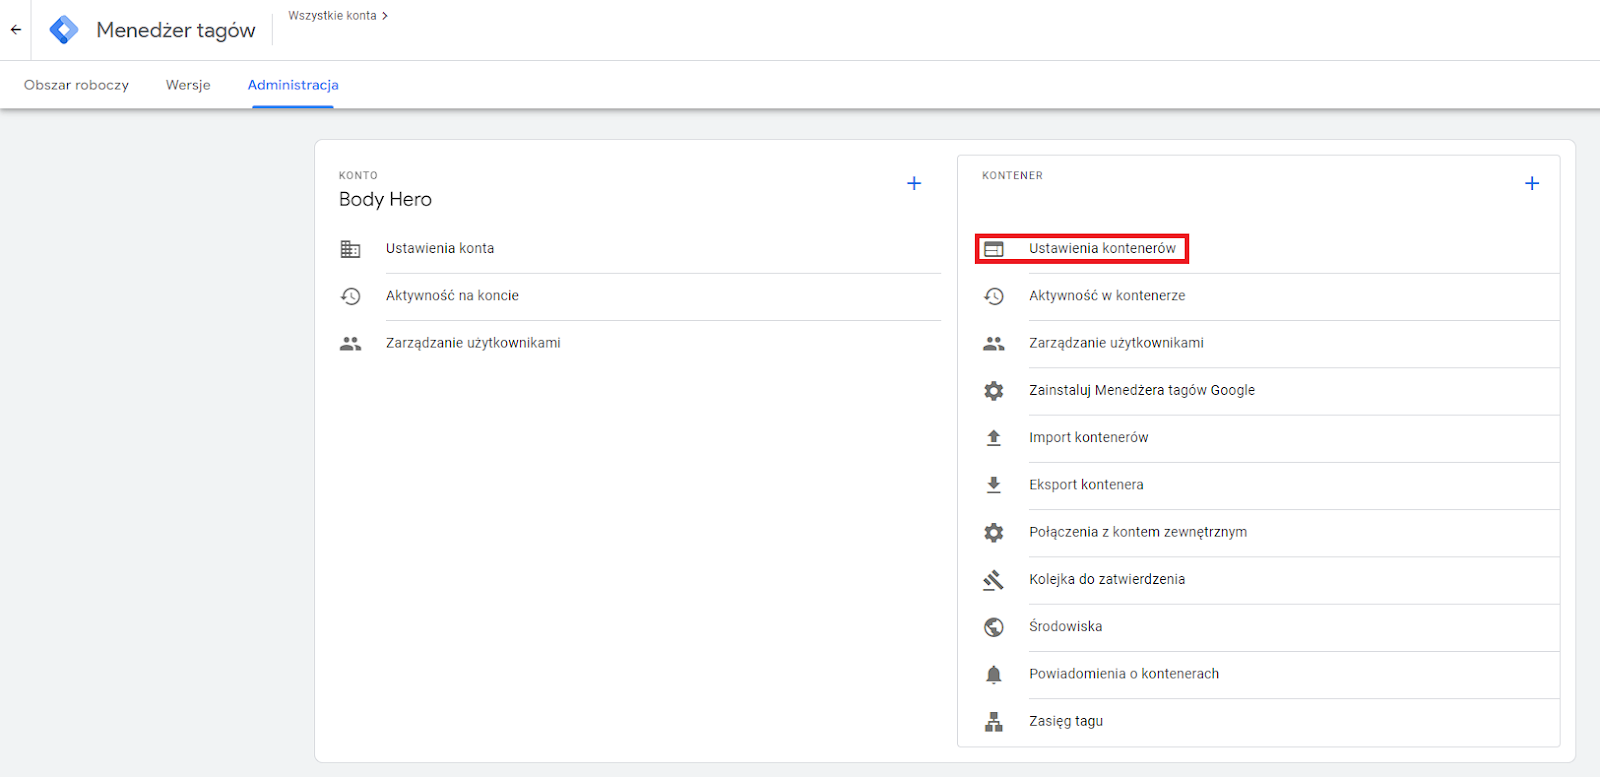
Now go to Google Tag Manager. In GTM, our first step will be to enable compatibility with Google Consent Mode containers. Click „administration” and then „container settings” as shown in the screenshot below:
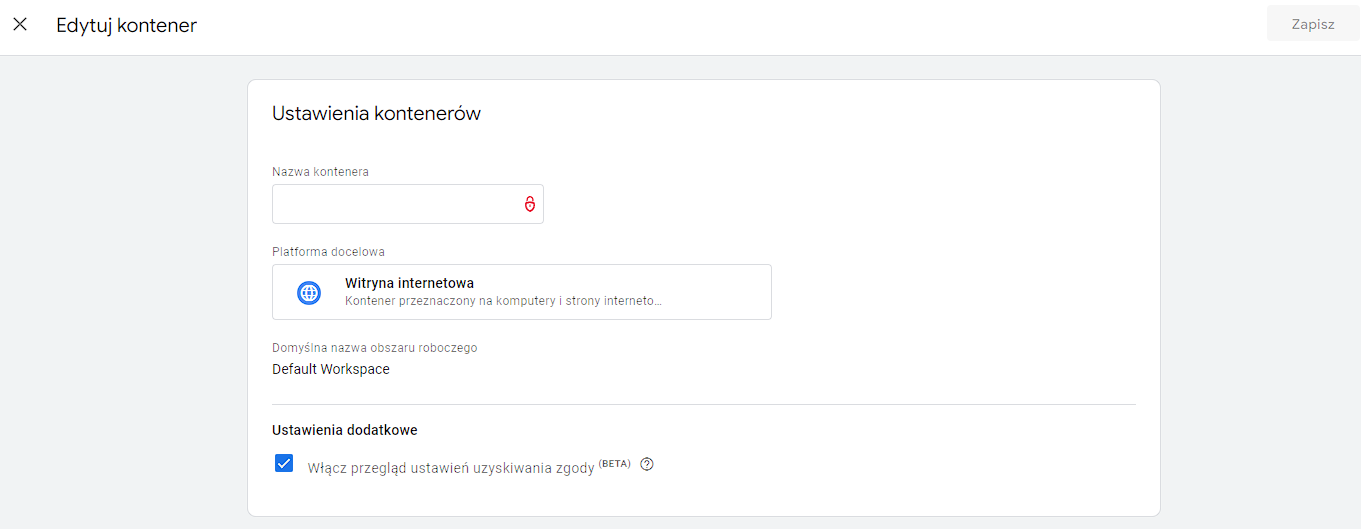
Now check „Enable review of consent settings” and click „save.
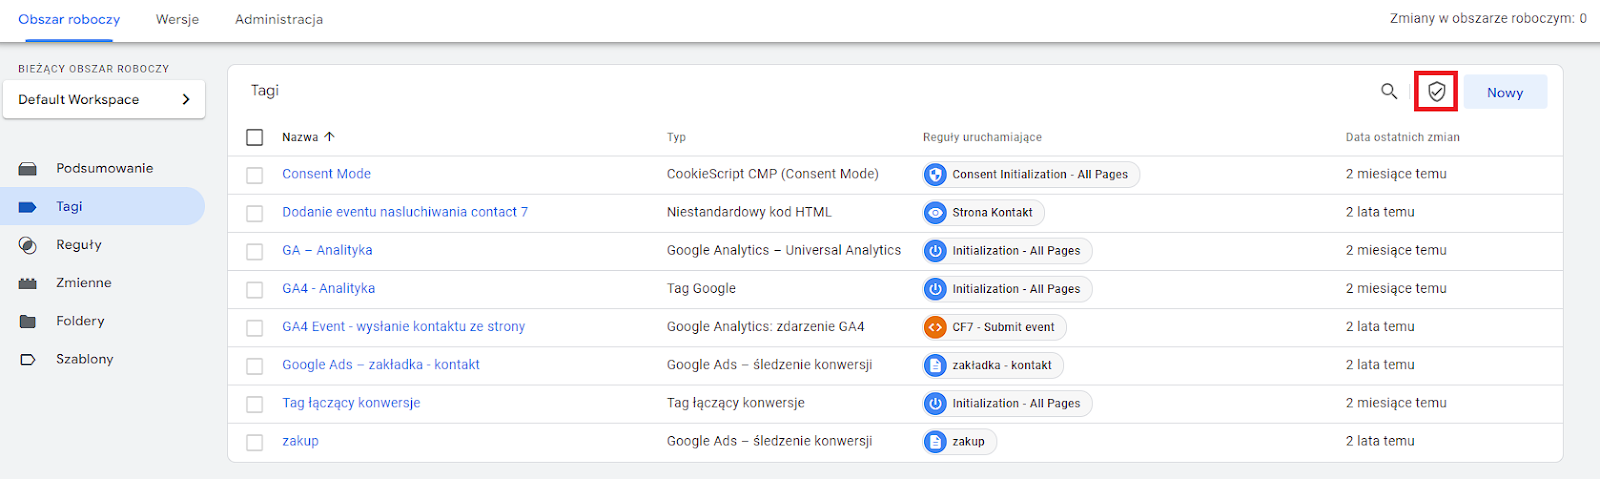
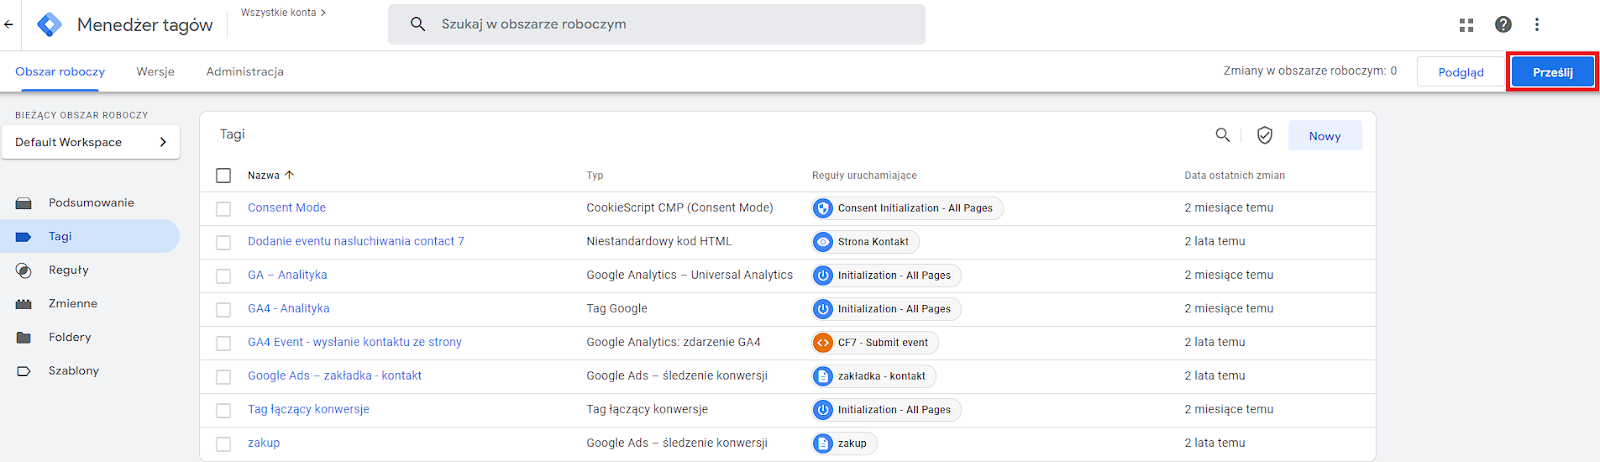
After this procedure, a shield should appear in the „tags” tab.
Consent mode – tag implementation
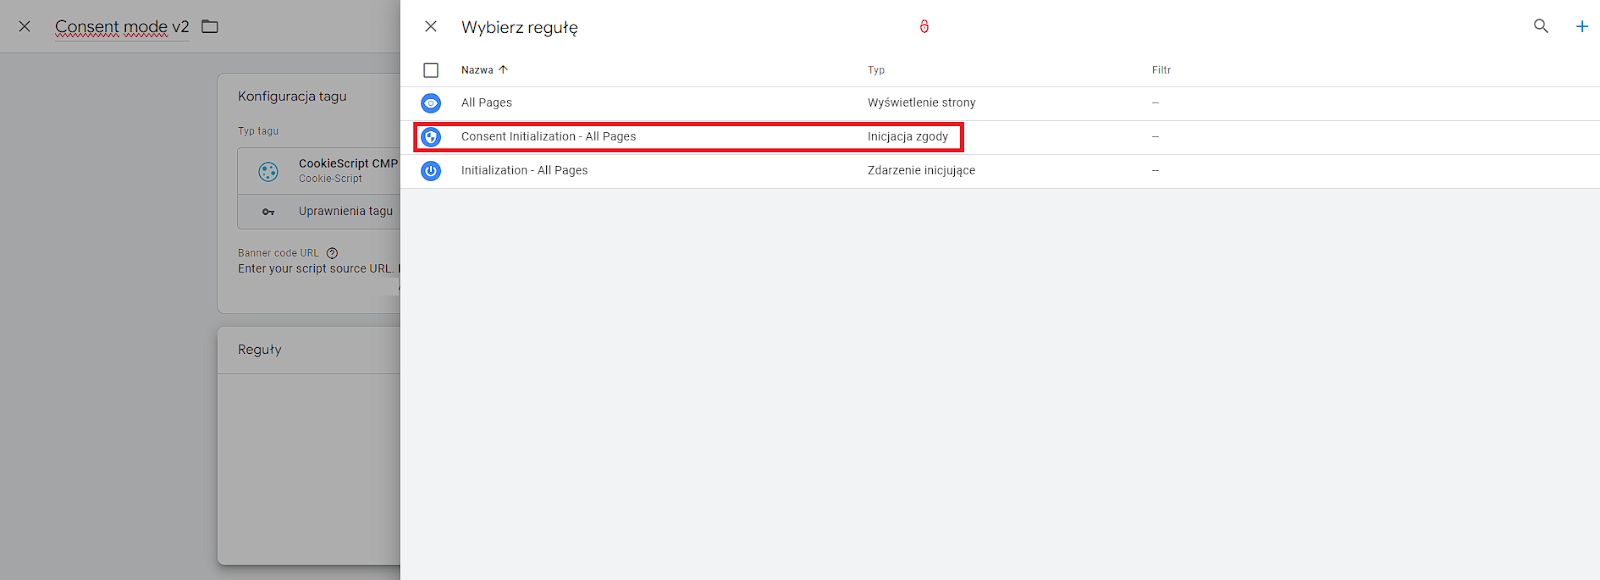
It’s time to create a tag allowing the Cookie Script to be loaded on the page. To do this, we click „new”. After giving the tag a name in the upper left corner, we click the „tag configuration” window. Then, „Discover more tag types in the Community Template Gallery” to type „cookiescript”. We click „add to workspace.” Then, in the Banner Code Url field, we paste the link we previously saved in Notepad. We scroll to the bottom and click the „rules” area. Here, we select „Consent Initialization – All Pages.” Then we click save.
Next, all the Google tag triggering rules that we have implemented by GTM, we need to change to „Initialization – All Pages” as it is done in the screenshot below.
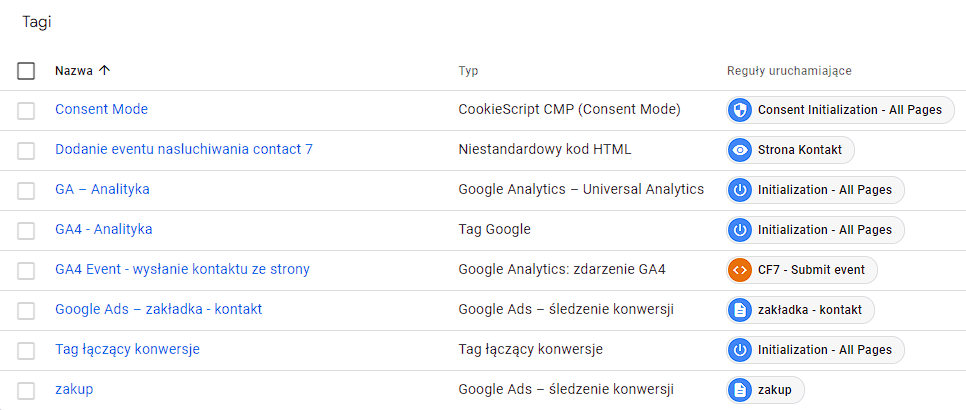
In the top right corner click „submit” and you’re done!
Finally, I still recommend familiarizing yourself with the „settings”, „main settings,” and „behavior” tabs in Cookie Scipt. There, you can manage the consent mode in any way you want, e.g., so that the user automatically agrees to it after a certain amount of time spent on the site.

Congratulations, you have successfully implemented Consent Mode v2! To check if the banner works, go to your site in incognito mode. If after entering it, the cookiecripta banner appears, it means that the consent mode has been implemented correctly.
Was the article helpful?
Rate our article, it means a lot to us!
Let's talk!

Marketing strategist and SEM specialist with experience in team management. He has been involved in performance marketing for several years. His favorite area of interest is data analysis.